Outfits
Install shared outfits, import supported exports, and save your own clothing presets.
Outfits
Saved Outfits lets you keep clothing components, textures, and props in portable files. Use a preset made for the same ped or freemode character model as your character.
Outfit folder and menu
C:\scooby\GTA5\outfits
Self → Outfit Editor → Saved Outfits in ClickUI and ListUI.
Native saves use .json; supported .xml outfits can also be loaded.
Download outfits
Browse and download outfits from Nenyoo ↗
Match the outfit to your character model, clothing availability and game edition. Keep its original file format.
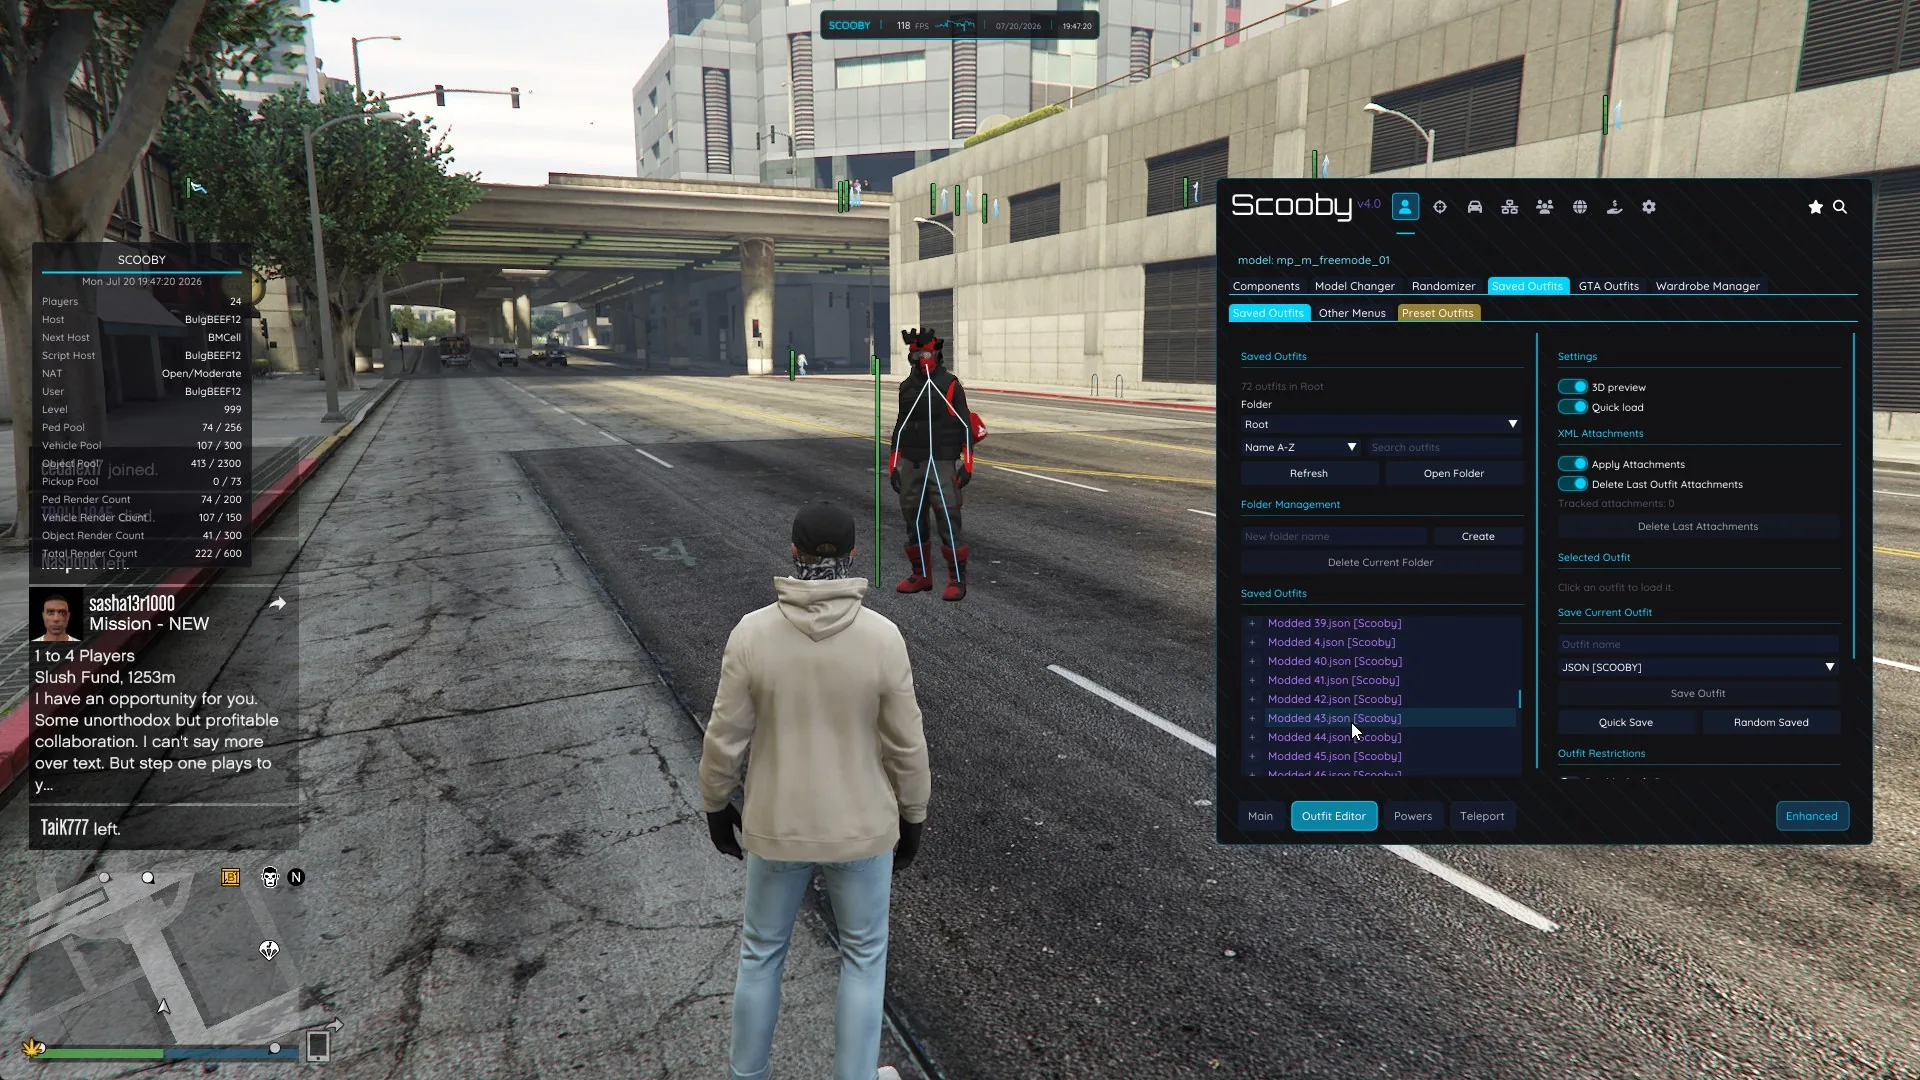 Enlarge image ↗
Install and wear a shared outfit
- Download the outfit from Nenyoo outfits, its author or the Scooby community. Extract the download if it is an archive.
- Open Saved Outfits and use Open Folder / Open in Explorer, or paste
C:\scooby\GTA5\outfitsinto File Explorer. - Copy the compatible
.jsonor.xmloutfit into that folder. You can organize native saves in your own subfolders. - Return to Saved Outfits, select Refresh, and open the folder containing the file.
- Select the outfit to apply it. If clothing looks wrong, switch to the character model it was made for and load it again.
C:\scooby\GTA5\outfits\
    MyOutfit.json
    Favorites\
        AnotherOutfit.xml
Import an outfit from another menu
- Keep the original export and its extension. Supported Cherax, Stand, INI and XML outfit structures can be loaded alongside native saves.
- Copy the file into
C:\scooby\GTA5\outfitsor a subfolder of your choice. - Open Self → Outfit Editor → Saved Outfits, select Refresh, open that subfolder if needed, and select the outfit.
The combined browser recognizes supported .json, .xml, .ini, and Stand .txt exports. Their contents must match a supported outfit structure; changing the extension does not convert a file.
Current builds migrate older other-menu-addons libraries into outfits\Cherax, outfits\Stand, and outfits\Imported. Browse those subfolders for previously installed files. Installed format notes are in C:\scooby\GTA5\outfits\SAVED-OUTFITS-GUIDE.txt.
Create, save, and share your own outfit
- Use Outfit Editor to choose the clothing components, textures, and props you want.
- Open Saved Outfits. Browse to your destination or select New Folder.
- Select Save Current Outfit and enter a filename without an extension. Scooby adds
.jsonautomatically. - Use Open Folder to find the saved file. Copy it to a backup or share it together with the character model it was created for.
Wardrobe Manager manages GTA's in-game wardrobe slots. Use Saved Outfits when you want a portable file.
If an outfit is missing or looks wrong
- Missing file: check its extension and folder, open the correct subfolder, and refresh. Older imported files may be in the Cherax, Stand or Imported subfolders.
- Refuses to load: restore the original file or ask for a supported export. Renaming a file extension does not convert it.
- Wrong clothing: component and prop indexes differ by model. Use the same ped and male/female freemode model as the original outfit.
- Downloaded model assets:
.ydd,.ytd, and RPF packs are not outfit presets. See Addons.
Back up the outfits folder and its subfolders while Scooby is closed. In ListUI, pressing Right on a local saved outfit deletes its file permanently.