Vehicles
Install shared vehicles, import compatible menu exports, and save your own customized rides.
Vehicles
Saved Vehicles stores reusable vehicle presets. These files describe a vehicle and its saved settings; the underlying model must already be available in your game.
Vehicle folder and menu
C:\scooby\GTA5\vehicles
Vehicle → Saved Vehicles → Browse in ClickUI and ListUI.
Supported preset formats include .json, .xml, and .ini.
Download vehicles
Browse and download vehicles from Nenyoo ↗
Check the download’s file format and edition requirements before importing it. Extract the archive first, then use the installation steps below.
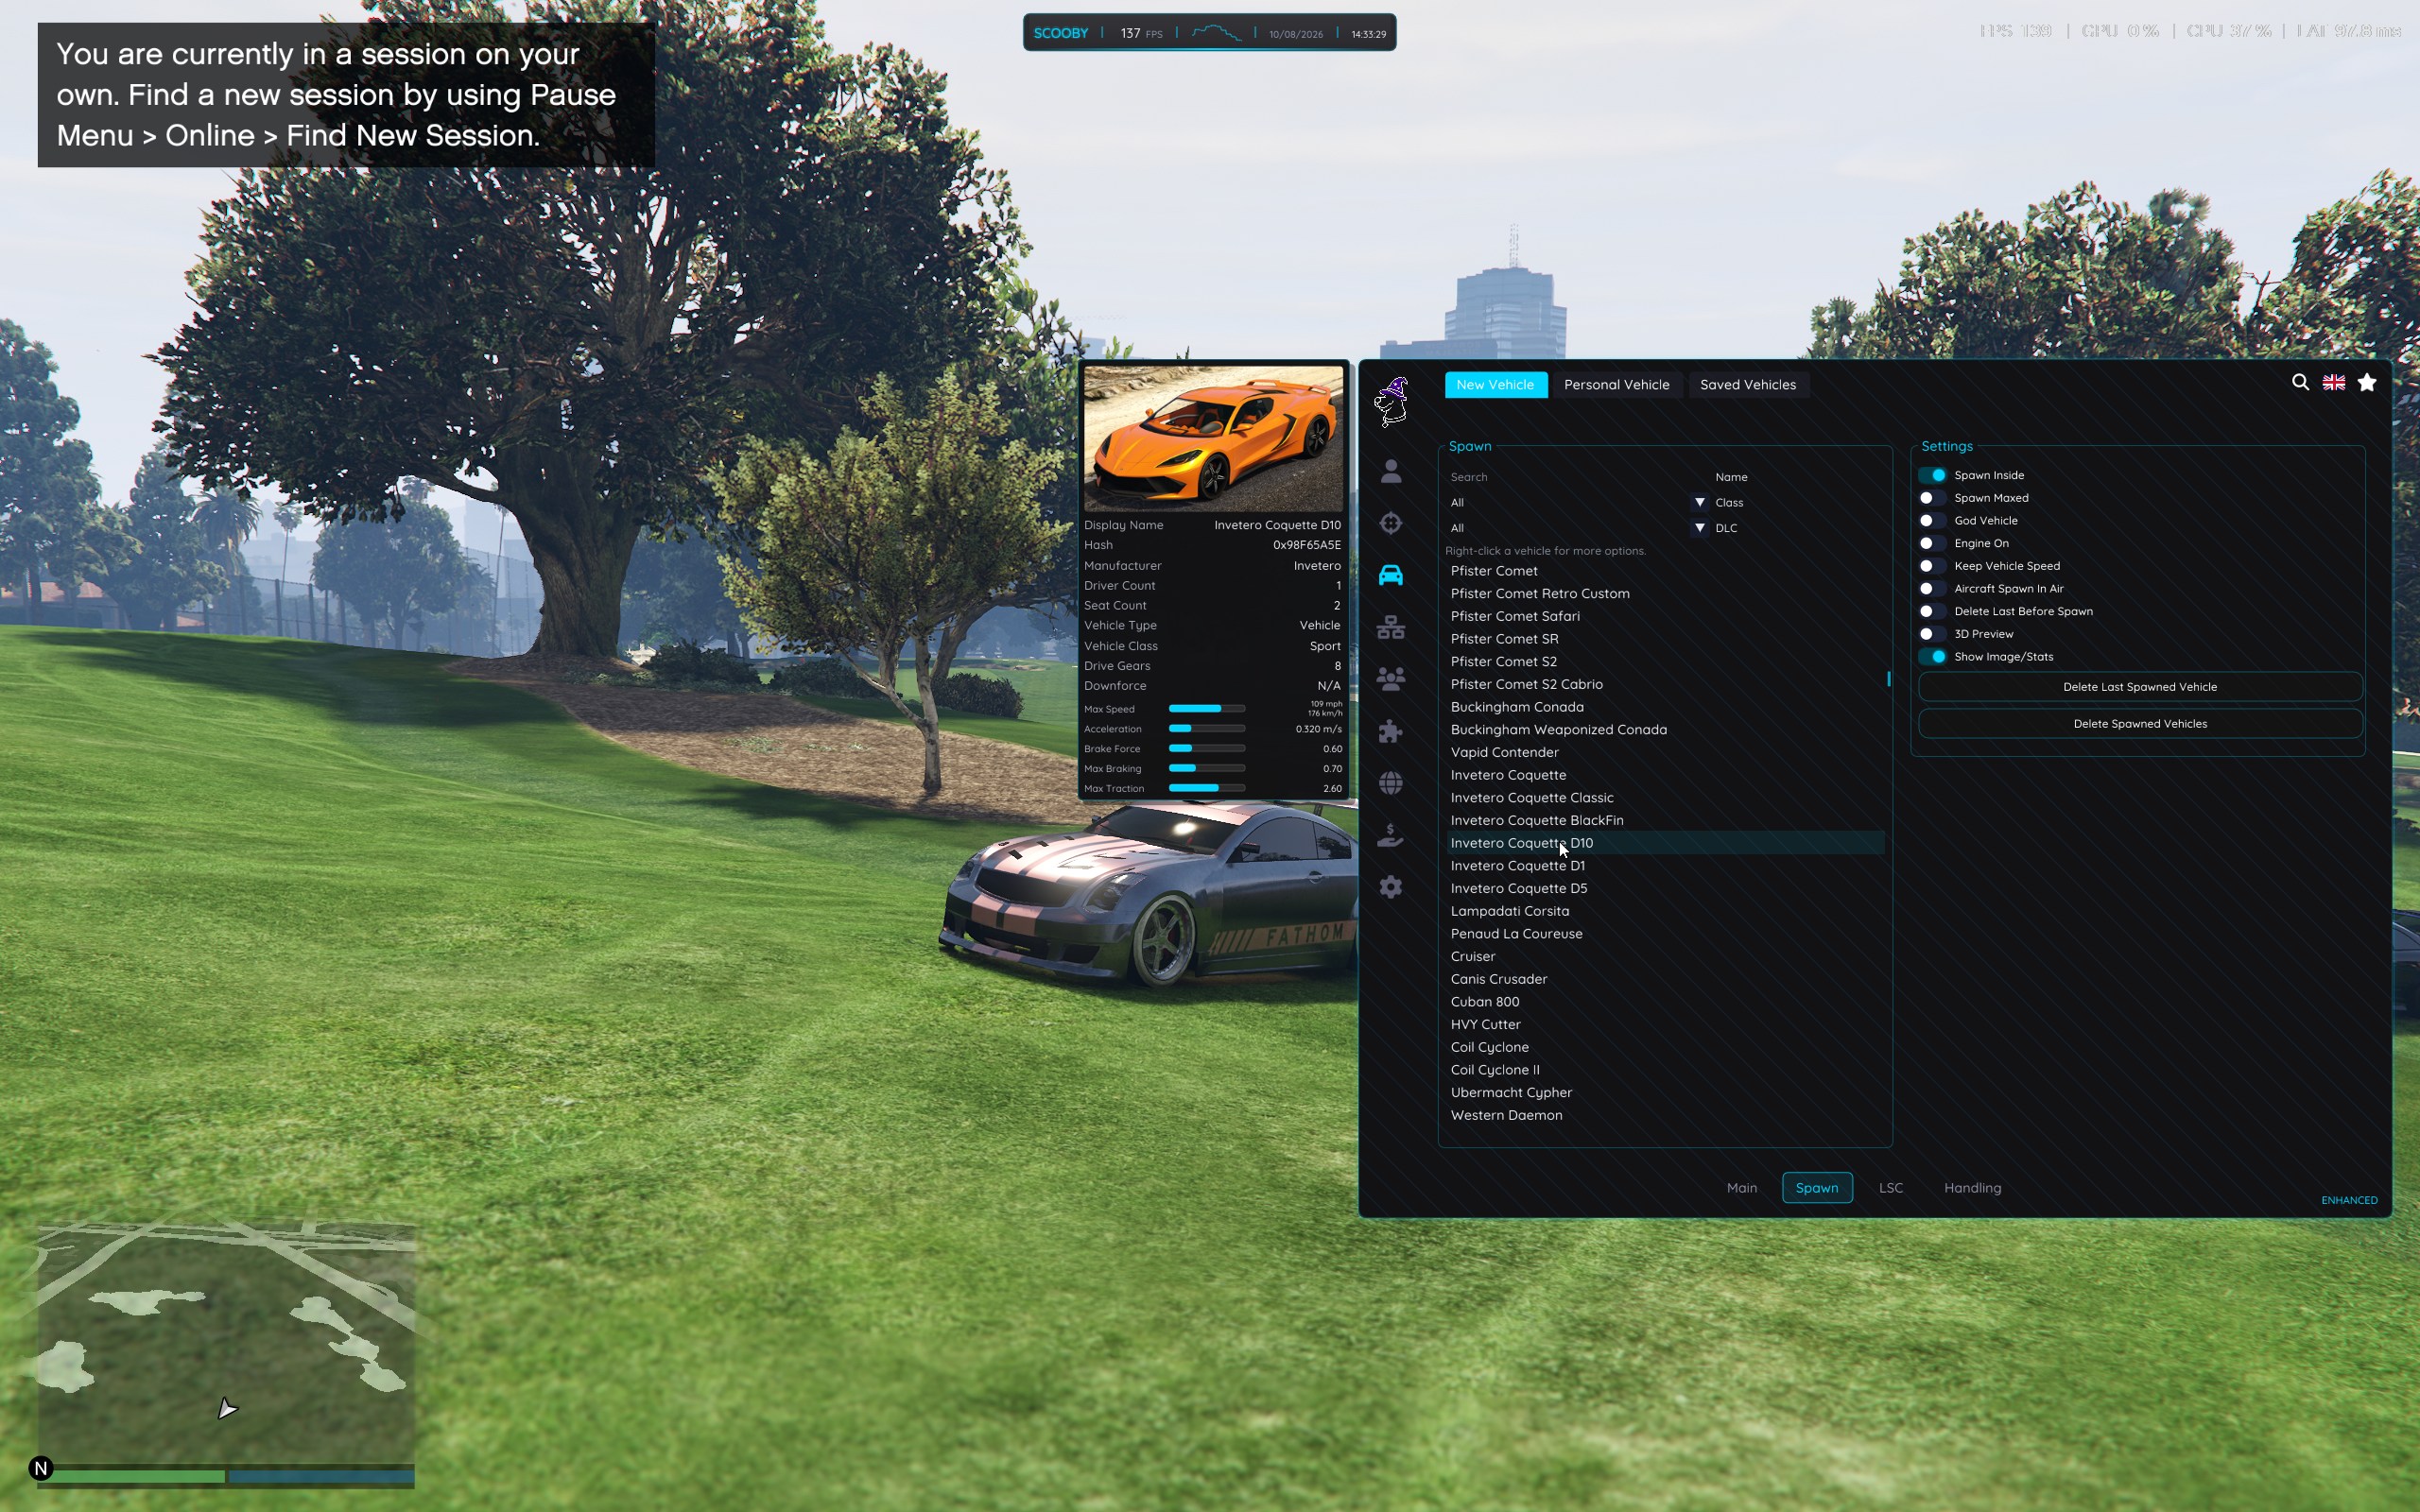 Enlarge image ↗
Install and spawn a shared vehicle
- Download a compatible vehicle preset from Nenyoo vehicles or its author, and extract it if it is inside an archive.
- Open Vehicle → Saved Vehicles and select Open Folder, or paste
C:\scooby\GTA5\vehiclesinto File Explorer. - Copy the preset into the vehicles folder or your own subfolder. Keep the original extension.
- Open Browse, select Refresh, and open the folder containing the vehicle.
- Select the vehicle to spawn it. Enable Spawn Inside if you want to enter it automatically. 3D Preview shows a preview when one is available.
C:\scooby\GTA5\vehicles\
    MyVehicle.json
    Favorites\
        SharedVehicle.xml
Keep personal saves in the parent folder or your own subfolders. vehicles\PresetVehicles is used for bundled presets.
Import a vehicle from another menu
- Keep the original export and its extension. Supported Cherax, Stand, INI and XML vehicle structures can be loaded alongside native saves.
- Copy the file into
C:\scooby\GTA5\vehiclesor a subfolder of your choice. - Open Saved Vehicles → Browse, select Refresh, open that subfolder if needed, and select the vehicle.
The combined browser recognizes supported .json, .xml, .ini, and Stand .txt exports. Their contents must match a supported vehicle structure; changing the extension does not convert a file.
Current builds migrate older other-menu-addons libraries into vehicles\Cherax, vehicles\Stand, and vehicles\Imported. Browse those subfolders for previously installed files. Installed format notes are in C:\scooby\GTA5\vehicles\SAVED-VEHICLES-GUIDE.txt.
Save and share your own vehicle
- Enter the vehicle you want to save and finish customizing it.
- Open Vehicle → Saved Vehicles → Save Vehicle, or browse to the subfolder where you want to save.
- Choose JSON [SCOOBY] for a native Scooby save, XML [Menyoo] for a Menyoo-compatible export, or INI [Other Menus] for a supported INI export.
- Select Save Current Vehicle and enter a filename without an extension. Scooby adds the selected extension.
- Use Open Folder to copy, back up, or share the file. Include any model or edition requirements when sharing.
Save as Personal Vehicle opens the garage registration flow. Use Save Current Vehicle when you want a portable file; saving a preset is separate from registering a personal vehicle.
If a vehicle will not appear or spawn
- Missing preset: check the folder and extension, clear the search, open the correct subfolder, and refresh.
- Cannot save: enter a valid vehicle first and use a simple filename.
- Cannot spawn: the model may be unavailable in your game build, or the preset may use an unsupported structure. Restore the original download or ask for a compatible export.
- Wrong format: select the intended save format before saving. Changing
.xmlto.jsondoes not convert the file. - Downloaded an RPF or model assets: follow Addons. The saved-vehicle folder does not install custom game assets.
Back up the vehicles folder and its subfolders while Scooby is closed. In ListUI, pressing Right on a local library entry permanently deletes that file.